A DC Wedding Photo Timeline That Survives the Real Day

A timeline can look tidy on a screen and still leave too little room for the parts of a wedding day you care about. In Washington, DC, daylight, travel between locations, parking, and the way guests move through a venue all affect the photography plan.
Build the schedule from confirmed details, then arrange the photographs around them. A useful timeline gives the day structure while leaving you free to be present in it.
Start with confirmed times and places
Before choosing portrait times, collect the details that set the day’s boundaries:
The ceremony start time confirmed by the officiant or venue.
The reception start and any other time that cannot move, such as dinner service.
Every address in the order you plan to visit them.
How you will travel, where you can park, and how far people must walk.
Any family groupings or traditions you want to protect.
Arrival times already agreed with hair and makeup, transportation, and other vendors.
Use the latest confirmed version of each detail. A hopeful ceremony time or a map estimate without parking and walking time can make the rest of the schedule too tight.
Work backward from daylight
The sun is one part of the day that cannot be rescheduled. Look up sunset for your exact date and location with the US Naval Observatory’s sunset table, then confirm how the tool displays local time before you place it in the timeline.
Decide which photographs need the light you want most. If couple portraits near sunset matter to you, protect that time first. If the ceremony happens after sunset, plan portraits earlier and ask your photographer what the available light will look like at that time of year.
Midday portraits can work too. A route with open shade, doorways, or covered areas may be more comfortable than a long stretch in direct sun. The right plan depends on the place, the season, and the weather.
Keep the route simple
Travel time is more than the minutes shown on a map. Parking, unloading, walking, gathering family, and moving a wedding party through a busy block all take time.
When you can, group nearby locations together. One portrait spot close to the ceremony often leaves more room for photographs than a list of distant stops. If the ceremony and reception are across the city, consider taking some portraits before the ceremony so the post-ceremony schedule is not carrying every priority.
Check current road closures and event information for the day, especially if your route crosses popular areas. For a location on public or managed property, confirm photography and permit rules with the agency responsible for that specific place.

Decide what the portrait time needs to hold
Write down the family groupings you want before the wedding day. Keep the list short, put the combinations in a sensible order, and ask one person who knows both sides of the family to help gather people.
For couple portraits, choose whether you prefer a first look before the ceremony or photographs afterward. A first look can make the later schedule easier when travel or sunset leaves little room. Portraits after the ceremony can work well when there is enough time and the light is right.
Tell your photographer which moments matter most. A few clear priorities are easier to protect than a long shot list that requires constant direction.

Leave room for the day to move
Buffers are useful around the places where small delays accumulate: leaving a venue, walking to a car, finding family members, or moving between ceremony and reception. Ask your planner, photographer, and transportation provider where a little extra time will make the biggest difference.
It can also help to identify one flexible block. If everything runs on time, use it for portraits or a quiet moment together. If the schedule slips, it gives the team a place to recover time without cutting the moments you value most.

Three timeline shapes to consider
One venue: Keep getting-ready moments, ceremony, portraits, and reception close together. This usually reduces transitions and makes it easier to adjust if something runs late.
One neighborhood: Choose a nearby portrait route and confirm the actual walking distance. A short walk can offer variety without adding another drive and parking stop.
Several parts of the city: Decide which portraits can happen before the ceremony. Check the travel route at a realistic time of day and protect the reception start from avoidable delays.
These are starting points, not templates. Your date, venue, guest count, and priorities should determine the final sequence.

Share one version of the plan
Put the schedule in one document and send the same version to the people who need it: your planner, photographer, officiant, and transportation provider. Update it when vendor arrival times or the forecast changes, and make clear who will make timing decisions on the day.
For a broader planning checklist, see the wedding photography information and planning guide. The best timeline is not the most detailed one. It is the one your team can follow while you enjoy the day.
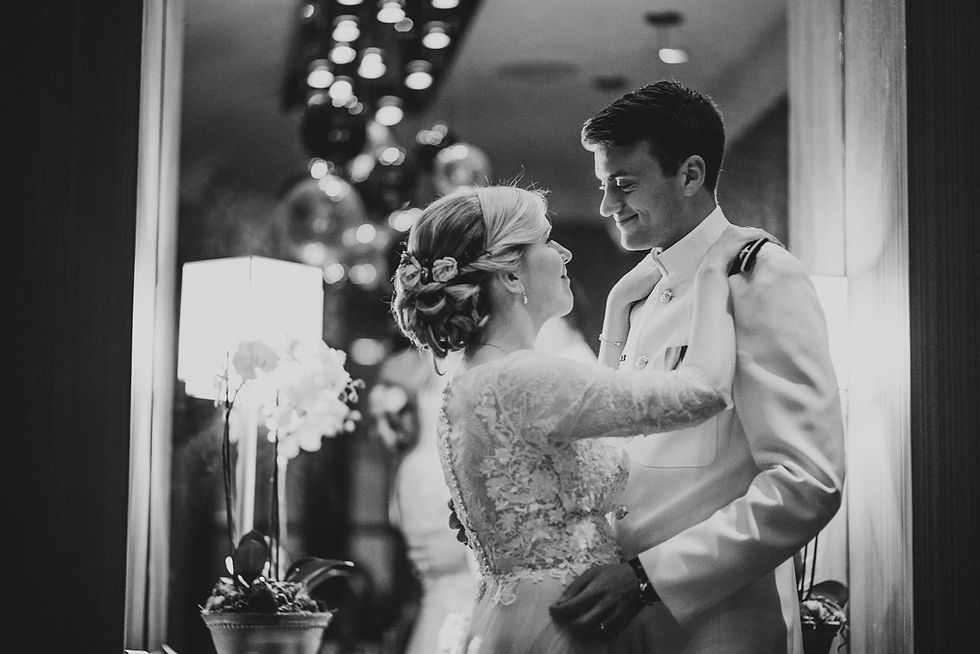
A final check before the wedding
Confirm the ceremony and reception times, review the route, look up sunset for the date, and check the current rules for any planned portrait location. Then share your priorities with the people coordinating the day.
If you want help thinking through the photography sequence, get in touch with Mantas. A clear conversation about the places, the light, and the moments you care about is a good place to start.


